Yes! I Love Making Ube Jam

Spread the love

UBE

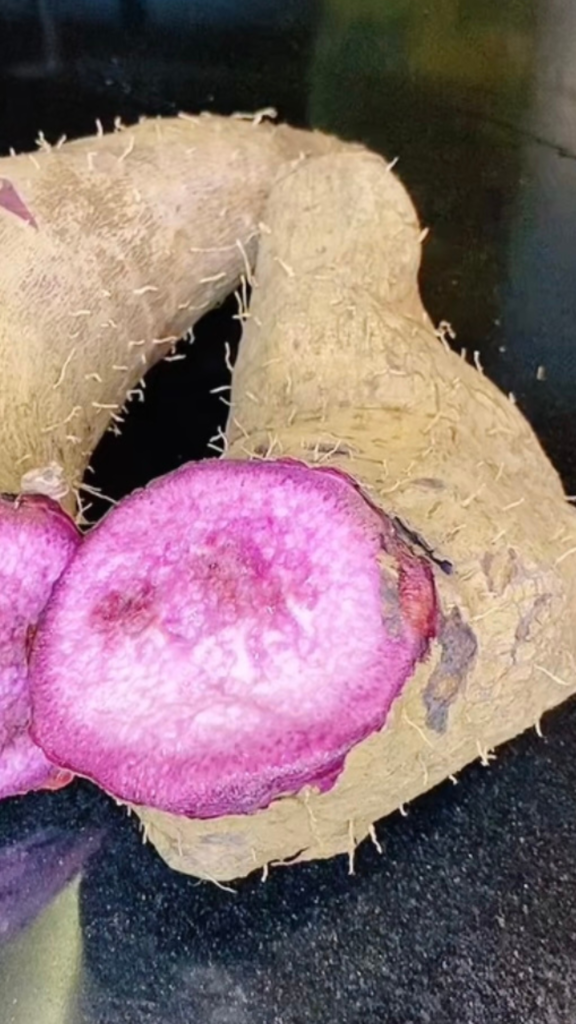
This purple root-like looking which is commonly mistaken as taro comes in very few varieties and originated from the Philippines. Ube is a Tagalog (the national language in the Philippines) for tubers (like sweet potato and cassava). It is also known as a purple yam but the basic dessert is called “halaya” or “Ube Halaya”. 

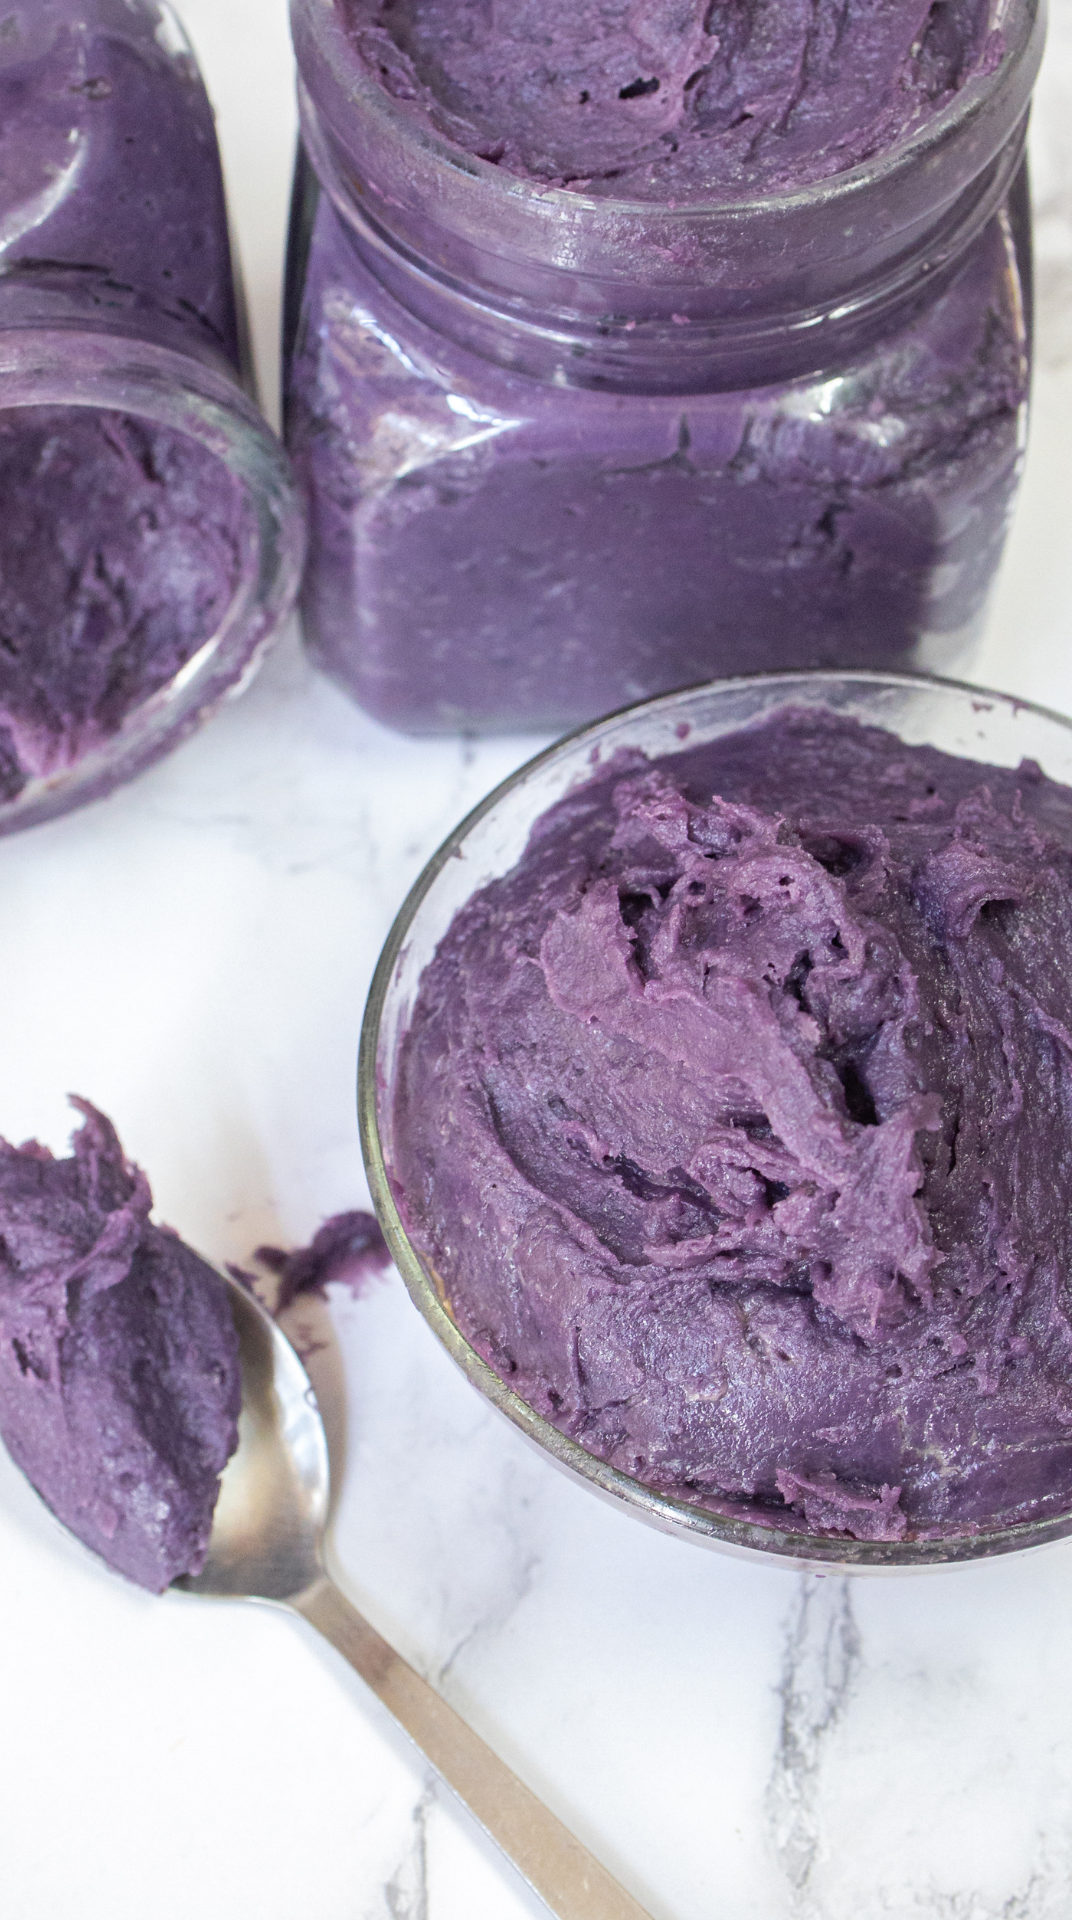
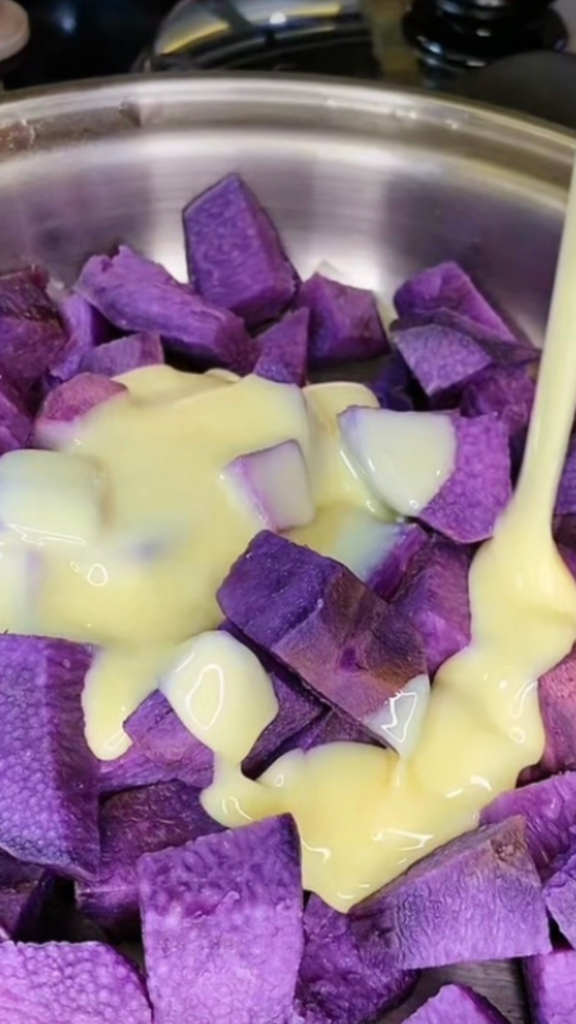
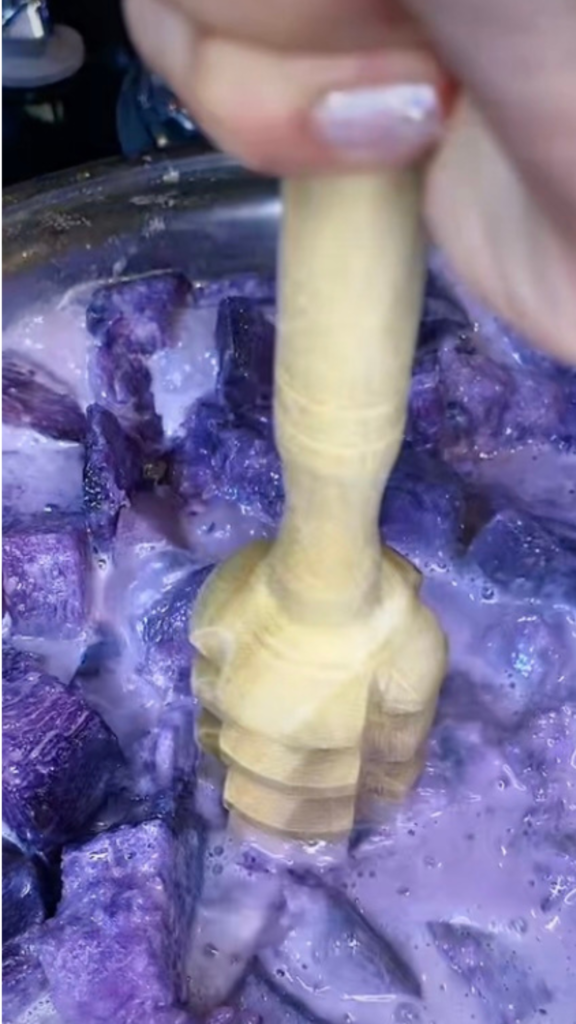
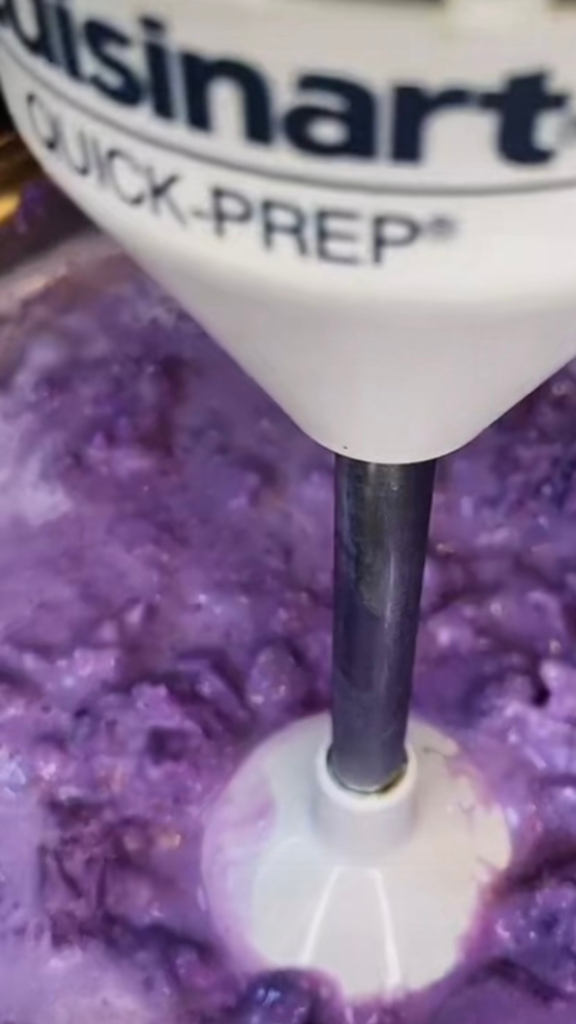
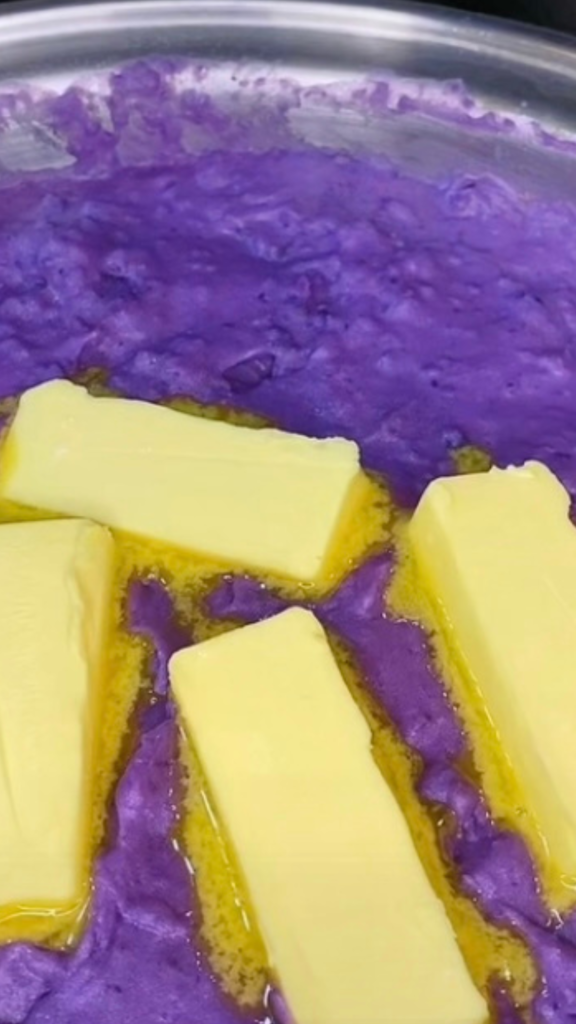
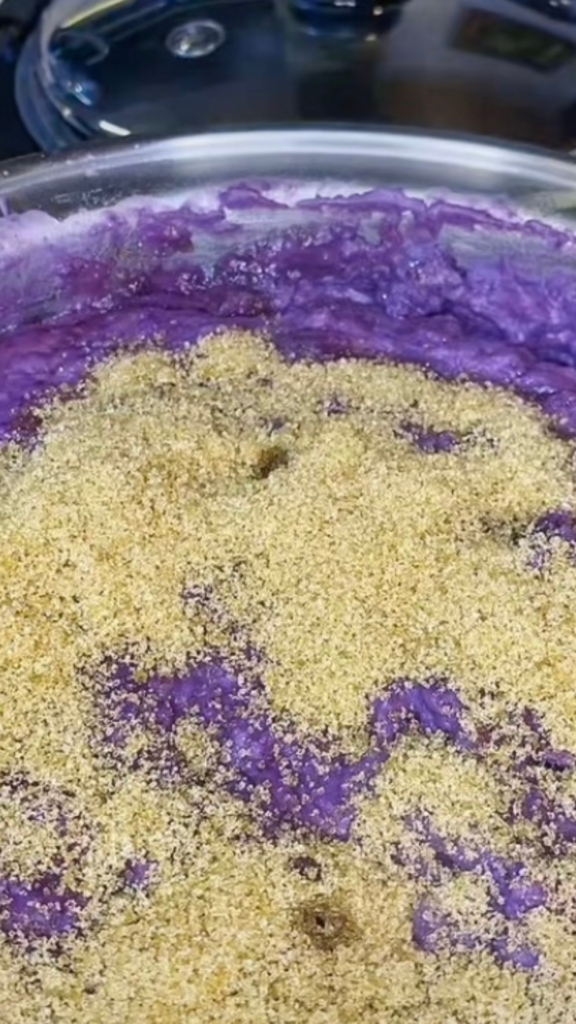
A mashed ube blended with milk, sugar, and butter, some people add coconut milk and other flavorings that will complement it but for the most part, the basic ingredients of it do the work. 

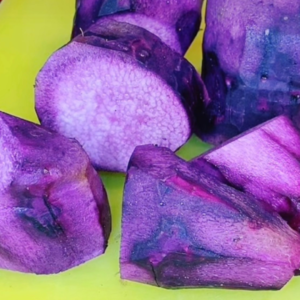
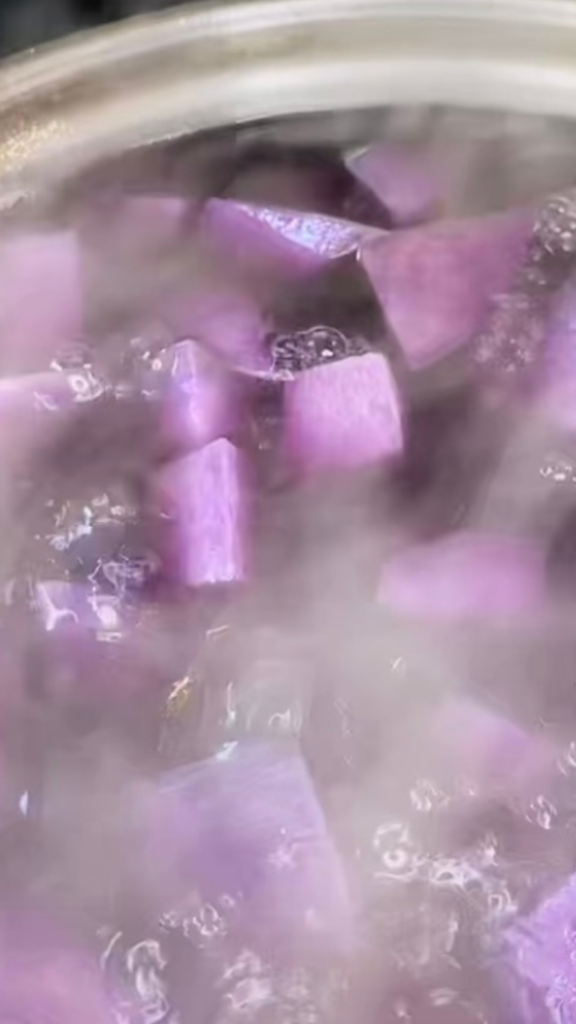
The idea of making it sounds complicated, but the reality is it’s just the same as making mashed potatoes for dinner or sweet potatoes for thanksgiving. 

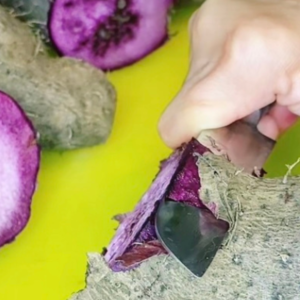
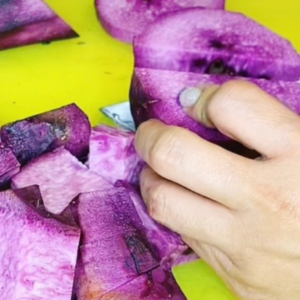
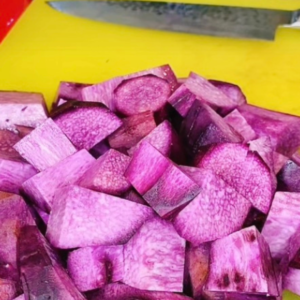
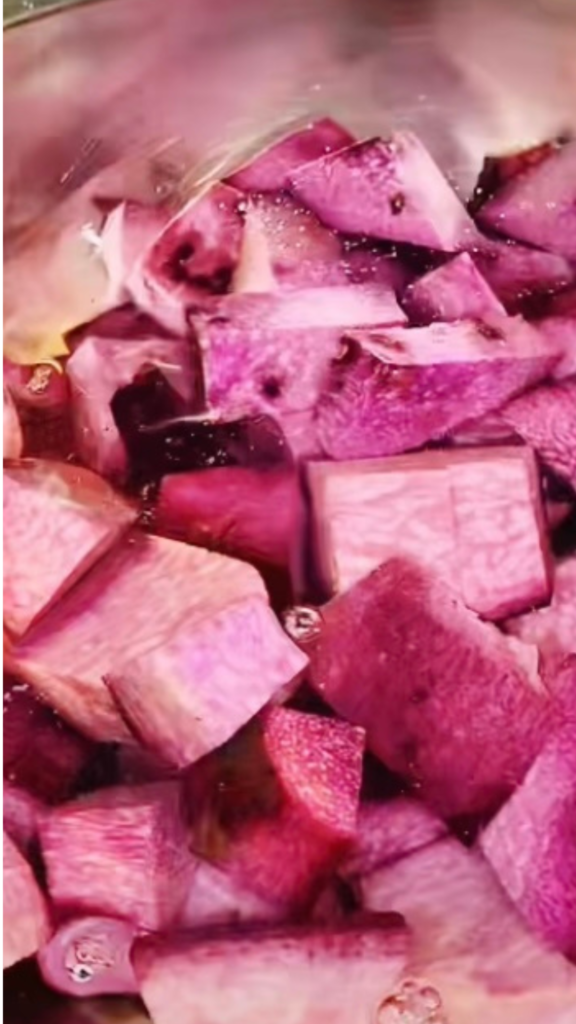
I got lucky! I was at the market in the Philippines during my stay and viola! There’s the ube and the lady said it is only 50 PHP per kilo – a super good deal! Bought it and started making it before it gets dry or I know based on experience, if you leave them out for a few days, roots, vines, and leaves will start growing out of it. Since I can consider this Ube as super authentic, I also learned that the best way to prep this before actually cooking is to soak them in water at least for a few hours (I soaked mine overnight). I suggest soaking because the first time I made them without soaking caused some itchy and weird feelings on my tongue when I tasted them. After a few research and interviews made at the local market, many of them suggested soaking – and so I did. 

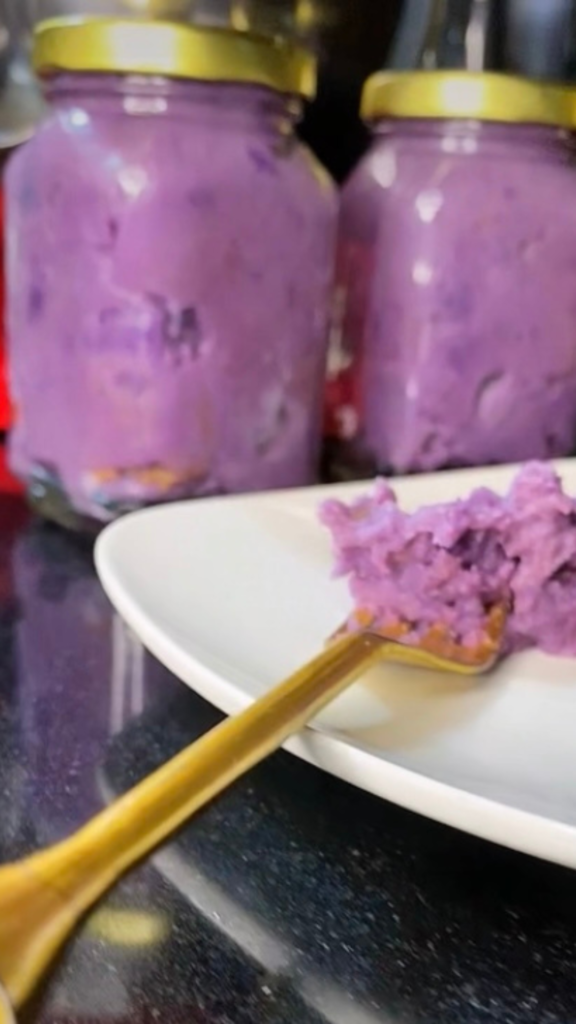
I had the best time making the ube jam, it is probably brought by my cravings for it and that purple color that is very nice to look at.

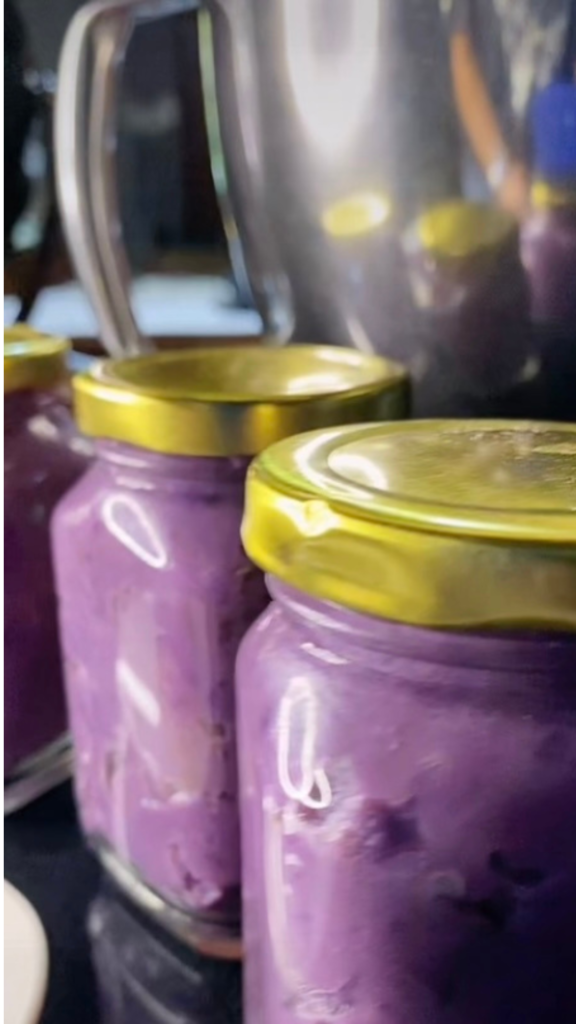
I use Ube jam as a filling for one of my macarons, I also love eating them as it is, and my sons love eating them as it is as well. My favorite halo-halo ingredient, and a perfect pairing for an afternoon coffee or tea, with or without bread. Another gift idea is then placed in a nice jar or container. Though these homemade jams can last about 3 to 5 days without refrigeration, I still suggest keeping them in the fridge they can last up to a month, and up to 6 months in the freezer.


Note: Ube may not be available in some countries or in America, however, Japanese purple sweet potato can do the work. 

Equipment, Supplies & Ingredients

when you hover & click below the suggested list of supplies & ingredients, it will take you to Amazon. Any purchase you do within 24 hours through my link will possibly give me some commission. I appreciate you. 

UBE JAM RECIPE

Ingredients:

Directions:

  • Wash the Ube root very well, and scrub off dirt by using a kitchen brush or sponge.
  • Peel and cut into cubes
  • Soak in water overnight. Place it in a cool area in your kitchen

Next Day:

  • Drain and rinse the cubed Ube a couple of times
  • Put in a large pot with water about the same level as the Ube
  • Bring to a boil until soft and tender. Drain
  • Using a deep pan, place the cooked Ube cubes, add condensed milk and simmer for about 10 minutes
  • Mash the Ube mixture using any mashing tool you have available
  • If you want a smoother consistency, use an immersion blender.
  • Add sugar and butter
  • Mix well and cook for another 20 to 30 minutes.
  • You may add more sugar and butter if you want more sweetness.
  • Put it in a jar or any container. I recommend an airtight jar, also best to give to friends and family. 

STEP-BY-STEP PROCESS

STEP 1

This Ube root is about 750 grams, found them in the market and paid 75 PHP. Very good deal!

Washed it well, making sure all the dirt is gone.

STEP 2

Carefully peel them. Look at that vibrant color!

STEP 3

I should have used gloves. It made my hands itchy. 

STEP 4

I soaked it overnight and changed the water a couple times in between.

STEP 5

Drained and boiled until tender. 

STEP 6

Opened a can of coconut condensed milk, (regular condensed milk will also work) and poured it over. 

STEP 7

I don’t have a potato masher so I used the “batirol” it’s a wooden tool used to melt and stir the chocolate to make a hot chocolate drink. 

STEP 8

If you want to make it even smoother, an immersion blender will do the work.

STEP 9

You can’t go wrong with butter. The more the better.

STEP 10

Light brown sugar is my choice of sugar, so I can maintain the lighter color purple. 

STEP 11

Yum, yum, yum. Perfect snack or dessert.

Love it!

Jar them. Refrigerate or give some to friends and family.